“Resize” normally means changing the width and height, but a form that says 20KB is weighing the file, not measuring it. The two are only loosely linked: a 300 × 300 pixel JPG can weigh anywhere from under 10KB to over 40KB depending on how much detail it holds and how hard it is compressed. Typing a pixel size into a resizer and hoping the bytes follow is why so many uploads bounce twice.
This page works from the weight backwards. It takes your picture, searches for the JPG quality that lands under 20KB, and only when quality alone cannot get there does it reduce the pixel size, a step at a time, until the file fits. Both levers are pulled for you; there is nothing to type.
Before and after
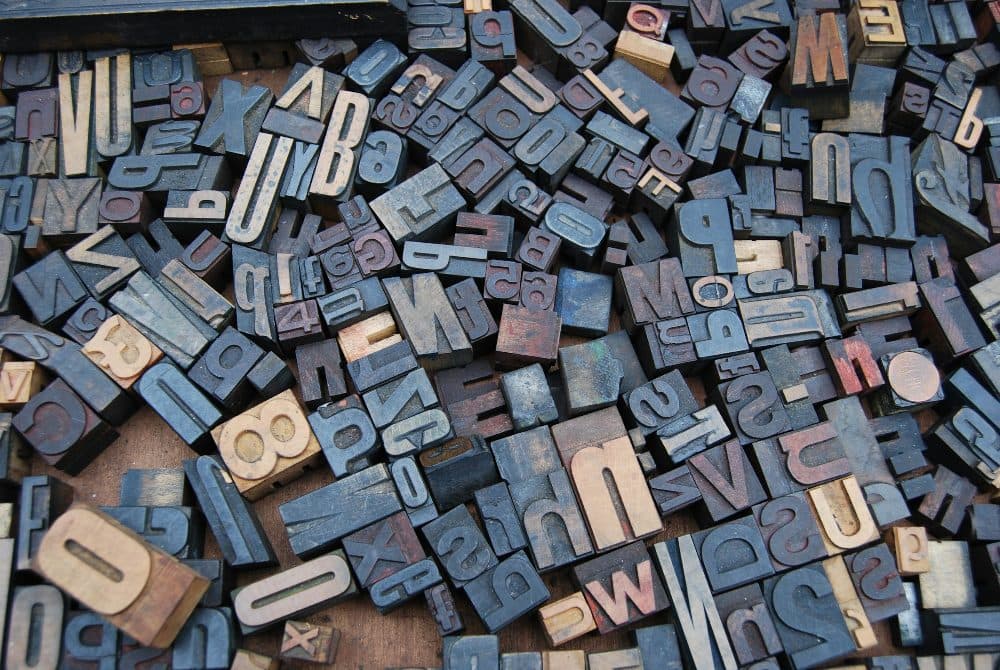
2400 × 1607 px919 KBJPG
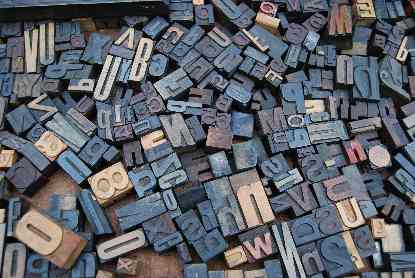
415 × 278 px19.7 KBJPG
This photo was 919 KB. With the limit set to 20 KB, it came out at 19.7 KB, which is 98% smaller.
To fit, the tool also scaled the picture down from 2400 × 1607 px to 415 × 278 px.
The image on the right is the actual file the tool above produced.
How to use it
- Add the picture you were asked to resize: a signature scan, a passport-style photo or a screenshot.
- The tool tests JPG quality levels first, then lowers the width and height only as far as needed to get under 20KB.
- Check the new pixel size and the byte count on the result card.
- Download the JPG. If your form also names exact pixels or a minimum weight, see the notes below.
Two levers: pixel count and JPG quality
A JPG spends bytes on detail. Fewer pixels means less detail to store, and lower quality means each remaining pixel is stored more loosely, so either lever brings the weight down. Quality is the cheaper one to pull first: a drop from 90 to 60 is hard to see on a phone screen but can halve the file. Below about 30 the picture starts to break into blocks, so this tool stops there and takes pixels away instead, searching the quality range again at each smaller size. The result card shows which combination it settled on.
What that means in practice: a full 12-megapixel phone photo ends up a few hundred pixels across, because no quality setting can hold that many pixels in 20KB. A scanned signature usually keeps every pixel, since white paper costs almost nothing to encode and the ink is a small fraction of the area. Screenshots with text sit in between; crop them to the part that matters before adding them here.
Forms that pair 20KB with a pixel or centimetre size
Most 20KB fields belong to signature uploads, and the notices usually state a size next to the weight. IBPS (PO, CSA, SO and RRB), SBI (PO and Junior Associates), RBI Services Board, NABARD and MIDC all ask for a signature of 10 KB to 20 KB at 140 x 60 pixels (preferred), saved as JPG/JPEG. Staff Selection Commission notices for CGL, CHSL, MTS, Constable GD, Stenographer and Junior Engineer want the scanned signature at 10 KB to 20 KB and about 6.0 cm (width) x 2.0 cm (height), JPEG/JPG. TNPSC asks for a signature inside a 6.0 x 2.0 cm box (230 pixels x 75 pixels) scanned at 200 DPI, 10 KB to 20 KB; its own resize guide suggests 200 to 300 pixels wide by 150 to 250 pixels high until the file is less than 20 kb. TANGEDCO (TNEB exam cell) states 4.0 cm x 2.0 cm (preferred) at 200 DPI, 10 KB to 20 KB. One photo field carries the same cap: the PAN application Form 49A / 49AA on the Protean portal takes a colour JPEG photo of 3.5 x 2.5 cm at 200 DPI, 20 KB maximum.
When a pixel size is stated, make it first with the resize tool (type the exact width and height and let it crop to fit), then drop the result here. At 140 × 60 or 230 × 75 pixels the file is small already, so this page mostly confirms the weight or shaves a little quality. Note that nearly all of these forms also reject anything under 10 KB, and a clean 140 × 60 signature can come out lighter than that. Tick “My form also has a minimum size” under the size field, enter 10, and the tool raises the quality, and if that is not enough the pixel size, until the file sits in the 10 to 20KB band. If it had to enlarge, compare the dimensions on the result with your form and, if they no longer match, start from a sharper scan.
Frequently asked questions
- Is resizing to 20KB the same as compressing to 20KB?
- For an upload form, yes: both mean handing in a file of 20KB or less. The difference is only in how you get there. Resizing cuts pixels, compressing cuts quality, and this page uses whichever mix reaches the weight with the least visible damage.
- Can I set the width and height myself on this page?
- No. Here the pixel size is an outcome, chosen by the byte limit. If your form fixes the dimensions, set them in the resize tool first; a file made at a small fixed size is usually under 20KB on its own, and if not, bring it back here.
- Why did a 1200 × 1200 picture come back at about 450 × 450?
- Because at 1200 × 1200 even the lowest acceptable quality was still heavier than 20KB. The tool then shrank the picture in steps until a clean quality setting fitted. The exact size depends on the content: a plain background allows more pixels than a busy one.
- Will a signature lose pixels too?
- Rarely. Black ink on white paper compresses extremely well, so a signature scanned at 600 pixels wide normally fits under 20KB without any shrinking. If yours does shrink, the likely cause is a grey or speckled background from a dim phone photo; a flat scan of the paper fixes it.
- My form says 20 KB and 200 DPI. Does this page set the DPI?
- No. This page writes a plain JPG with no DPI value, and most portals check the byte size and the pixel dimensions rather than DPI. Where DPI is stated, it is really a way of giving pixels: 3.5 x 2.5 cm at 200 DPI is 276 x 197 pixels. Make that size with the resize tool in centimetres, which records the DPI, and check its weight before deciding whether it needs this page at all.
- Does the picture keep its shape?
- Yes. Shrinking is proportional, so a 4:3 photo stays 4:3 and nothing is cropped away. A form that wants a wide strip such as 140 x 60 pixels needs a crop first; this page will not change the proportions for you.