An iPhone HEIC is already compressed. Turning it into PNG does not bring back anything the camera threw away, but it does freeze the picture exactly as decoded. From then on you can crop, annotate and re-save it as often as you like and the edges of letters, lines and icons will not blur any further.
That makes PNG the better pick for a photographed whiteboard, a page of notes, a diagram, or a screen capture that reached you as .heic. For an ordinary snapshot you only want to share or upload, JPG is usually the smarter choice, because the PNG will be many times heavier.
Before and after
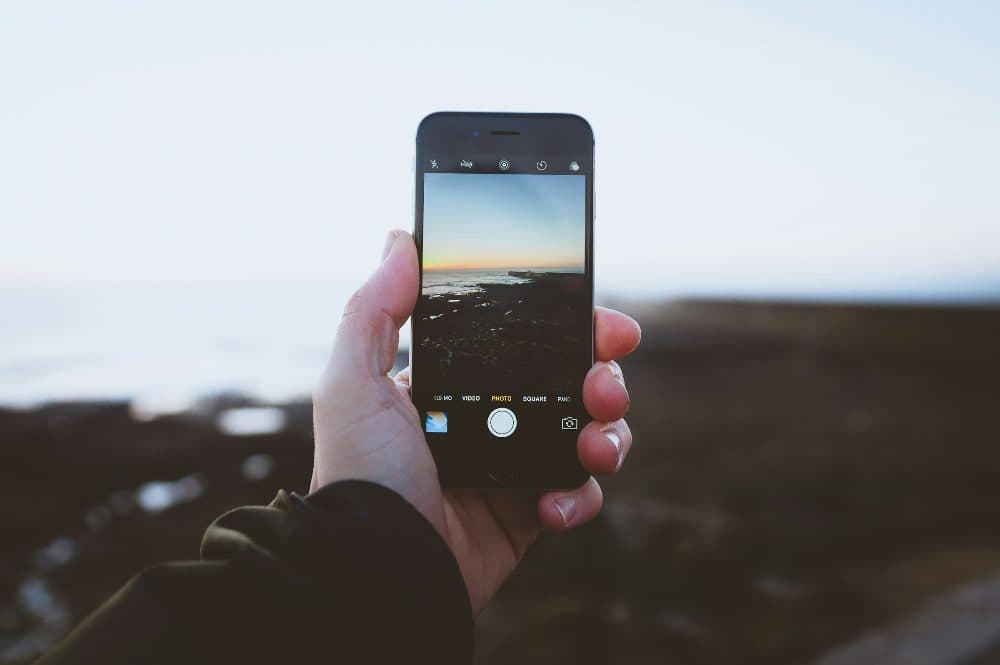
2400 × 1597 px136 KBHEIC
2400 × 1597 px1.20 MBPNG
The picture and its 2400 × 1597 px size stay the same. Only the file changes: HEIC at 136 KB in, PNG at 1.20 MB out.
PNG keeps every pixel exactly, so a photo takes more space than it does as HEIC.
The numbers are from a real run of the tool above. The pictures here are smaller previews of the actual files.
How to use it
- Pick the .heic or .heif file from your phone or computer.
- Browsers other than Safari fetch a HEIC reader the first time; after it loads, the picture is turned upright and written out as PNG.
- Check the new file size shown next to the original, then save the PNG.
- Need a JPG after all? Open the HEIC to JPG page and add the same file there.
PNG or JPG for an iPhone picture
Choose PNG when the image is mostly flat colour and hard edges (text, charts, slides, handwriting, app screens) or when it is a working file you will open and save again in an editor. PNG never re-compresses, so ten saves look the same as one.
Choose JPG for people, landscapes and anything bound for an upload form with a size cap. Camera grain and soft gradients are exactly what PNG stores least efficiently, so a 2MB HEIC photo can easily turn into a PNG of 10MB or more, while a JPG stays close to the original weight.
What the PNG keeps and what it leaves out
The pixels are kept as decoded, at the full width and height, unless the photo is above about 16 megapixels; then it is scaled down so a phone can handle it, and the page says so. Orientation is applied to the pixels, so a portrait shot stays portrait in any viewer.
Hidden camera data such as GPS position, date and phone model is not copied into the PNG. A camera HEIC has no see-through areas, so the PNG will not have a transparent background either: the sky, wall or desk behind your subject stays as it was. This page does not cut subjects out.
Frequently asked questions
- Is HEIC to PNG really lossless?
- The step from HEIC to PNG adds no new loss: every decoded pixel is written as it is. What it cannot do is undo the compression applied when the iPhone saved the HEIC, so the PNG will not look sharper than the original.
- Why is my PNG so much bigger than the HEIC?
- HEIC throws away detail you are unlikely to notice in order to stay small; PNG keeps every pixel exactly, noise included. For photos the difference can be five to ten times. If the size matters more than editing headroom, convert to JPG instead.
- Will the PNG have a transparent background?
- No. Converting to PNG only changes the container; a photo taken with the camera has a solid background and keeps it. This tool does not remove backgrounds.
- Can I convert a whole folder of HEIC files to PNG?
- Files are handled one by one. Add the next HEIC once the current PNG is saved and it replaces the previous result.
- What about Live Photos?
- Only the still frame becomes a PNG. The short video clip that makes a Live Photo move is a separate file and is ignored.