The photo studio handed back the passport photo and signature as a single PDF, and the application form wants them as JPG; NEET (UG), for one, asks for the photograph as a JPG between 10KB and 200KB and will not take a PDF. Some document fields are the other way round and accept only images. Either way the fix is to render the PDF page as a picture.
This converter draws every page of the PDF as a JPG at a resolution you choose. One page gives a single JPG to download; a longer document gives a ZIP plus a preview grid in which any page can be saved on its own. Type a page list to convert only some of them. Up to 100 pages are handled in one go.
Before and after
scan-2-pages.pdf
2 pages462 KBPDF
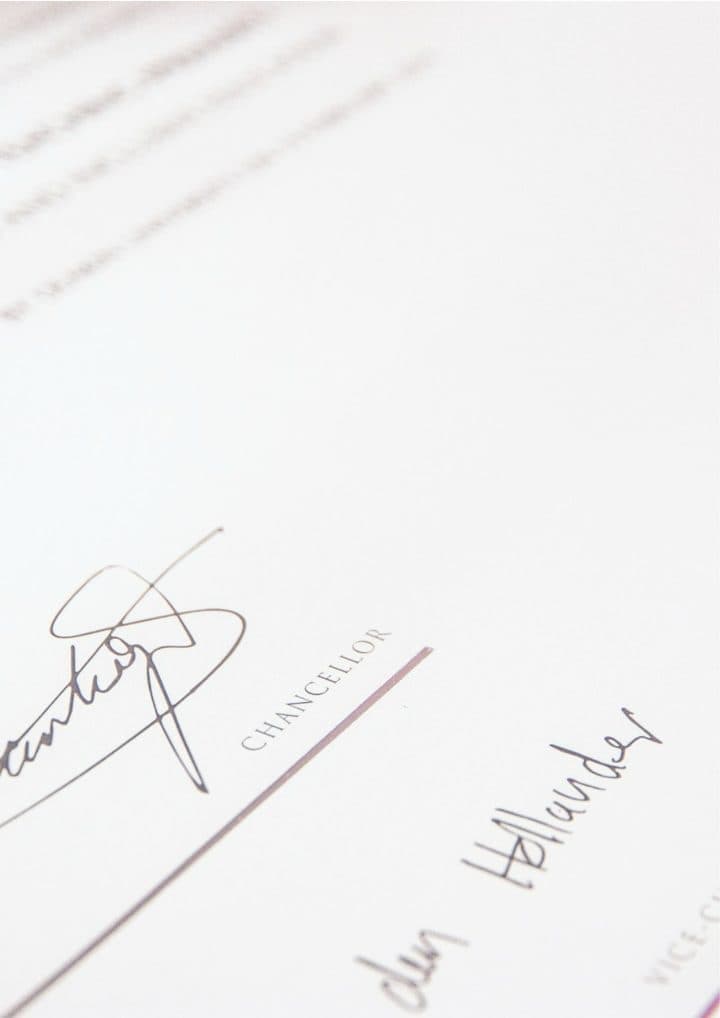
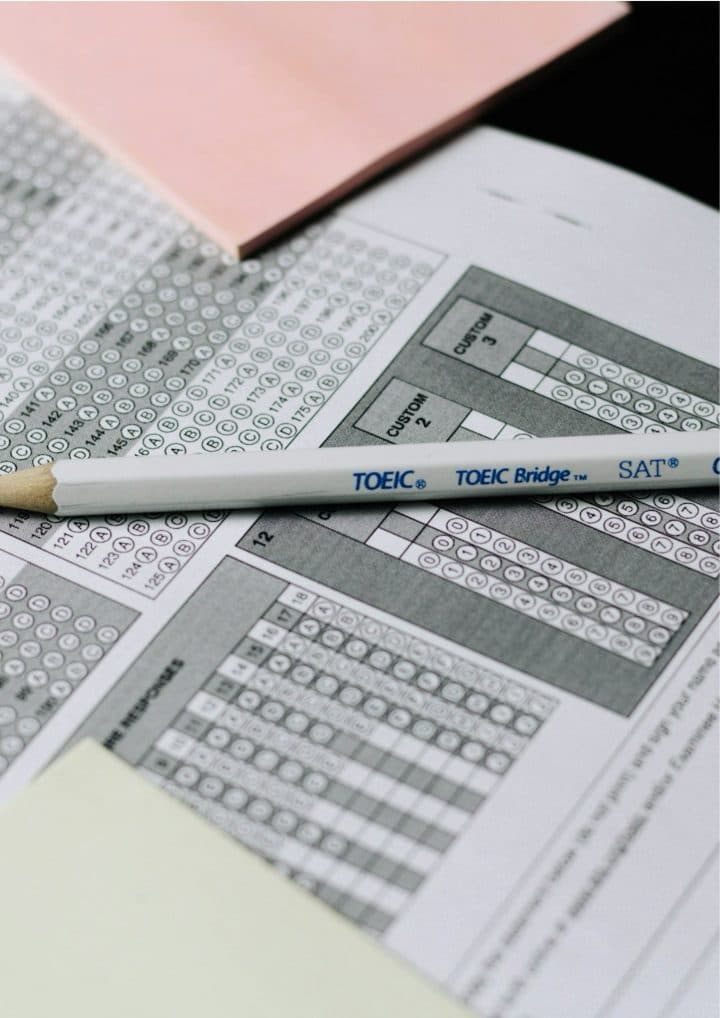
2 files446 KB in totalJPG
Each page of this 2-page PDF was saved as a JPG at 150 DPI: 1240 × 1754 pixels, 446 KB for the 2 pictures together.
A4 at 150 DPI is 1240 × 1754 pixels; 300 DPI doubles both sides for printing, 72 DPI is enough for a screen.
The numbers are from a real run of the tool above. The pictures are previews of the first pages of the actual files.
How to use it
- Drop the PDF on the box above, or tap it and choose the file.
- Pick the resolution: 72 DPI for a small picture, 150 DPI for a clear one, 300 DPI for printing. Leave the page list empty for every page, or type something like 1, 4-6.
- Press Convert. A single page downloads as a JPG; more than one is packed into a ZIP, with each page also shown below so you can save one at a time.
Which DPI to choose
DPI decides how many pixels a page gets. An A4 page is 8.27 × 11.69 inches, so at 72 DPI it becomes 595 × 842 pixels, enough to read on a screen but not to print; at 150 DPI it is 1240 × 1754 pixels, sharp at normal zoom and the default here; at 300 DPI it reaches 2480 × 3508 pixels, the size a scanner produces and the one to pick if the picture will be printed or cropped. Higher settings mean larger files and longer rendering on a phone, so choose 300 only when the extra detail will be used.
From a PDF scan to a photo or signature upload
Convert the page at 300 DPI so the photograph inside it has pixels to spare, then open the JPG in the crop-image tool and cut it down to the photo or the signature strip alone. The crop will be a small picture, often under 200KB already; if the field has a cap of 50KB or 100KB, finish with compress-image-to-50kb or compress-image-to-100kb, which find the highest quality that lands under the number. The resize-signature tool covers the usual signature dimensions if the portal names a size in centimetres or pixels.
Frequently asked questions
- Why is my JPG blurry when I zoom in?
- Because the page was rendered at 72 or 150 DPI and you are viewing it larger than that resolution supports. Convert again at 300 DPI; the A4 page then has 2480 × 3508 pixels and stays crisp when cropped or printed.
- Can I convert only the first page?
- Yes. Type 1 in the page list and only that page is rendered, which also means a one-page result: a single JPG download rather than a ZIP. The same works for any selection, such as 3 or 2-4.
- Is there a page limit?
- 100 pages per run. A longer document can be converted in slices by typing 1-100 first and 101-200 next. Each slice arrives as its own ZIP with its own preview grid.
- Can I still select or search the text in the JPG?
- No. A JPG is a flat picture, so text, links and form fields become part of the image, rendered at JPG quality 90 exactly as a viewer shows the page. Keep the PDF for anything that needs its text layer, and use the JPG where a form insists on an image.