TIFF is what scanners, print shops and archive systems like to hand over. It stores every pixel with little or no compression, which is ideal for printing and later editing but awkward everywhere else: an A4 page scanned in colour at 300 DPI is 2480 × 3508 pixels, roughly 26MB before any compression, and many upload fields, email services and phone galleries will not take a .tif at all.
This converter reads the .tif or .tiff file inside your browser and writes a JPG of the same pixel size. Scanned certificates, ID cards and signed letters stay on your device, which matters for papers like these.
Before and after
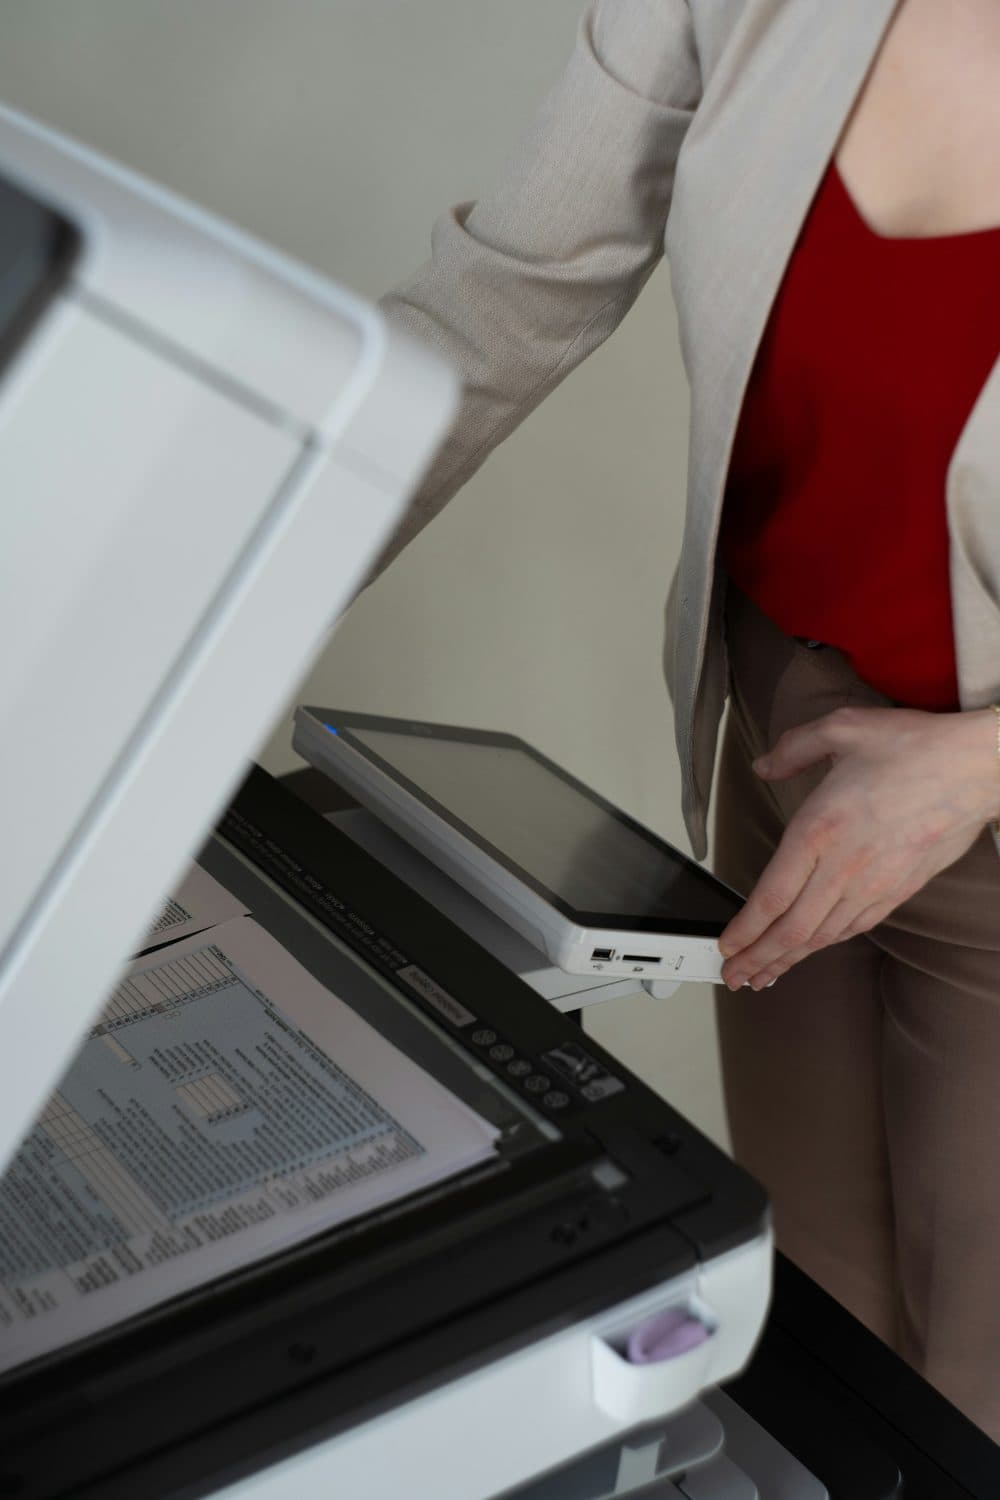
2400 × 3600 px24.72 MBTIFF
2400 × 3600 px721 KBJPG
The picture and its 2400 × 3600 px size stay the same. Only the file changes: TIFF at 24.72 MB in, JPG at 721 KB out.
JPG drops detail the eye barely notices, which is why the file is 97% smaller.
The numbers are from a real run of the tool above. The pictures here are smaller previews of the actual files.
How to use it
- Open the scanned .tif or .tiff file with the picker above. On first use a small TIFF reader is fetched, because most browsers apart from Safari cannot open the format on their own.
- Set the quality. 92 suits photos and colour scans; text-only pages can go to 80 or so and still read cleanly, with a much lighter file.
- Press Convert and check the preview. If the TIFF held several pages, what you see is page one.
- Save the JPG. It keeps the TIFF’s file name, with .jpg at the end.
What carries over from the TIFF, and what does not
The pixels carry over at full size, unless the scan is above about 16 million pixels. An A4 page at 600 DPI is close to 35 million, so it is scaled down on load and the page tells you so; at 300 DPI it fits untouched. Transparent areas, which some design TIFFs have, turn white.
Several things are left behind. Only the first page of a multi-page TIFF is read. The DPI number stamped by the scanner is not written into the JPG, so a print shop may see it as 72 or as unset. Files with 16 bits per channel are reduced to the 8 bits a JPG holds, and CMYK files from print workflows are turned into screen colours with a plain formula rather than their colour profile, so strong colours can look slightly different.
Fixing the gaps after converting
If someone needs the scan at a stated resolution, run the JPG through the DPI changer and enter 300 (or whatever was asked for). The pixels stay the same; only the stored number changes, and the DPI checker will confirm it.
For a multi-page TIFF, open it in the scanner software or an image editor and save each page as its own file, then convert them one by one here. If a form caps the upload in KB, convert first, then take the JPG to the compressor, which can scale a large scan down until it fits.
Frequently asked questions
- Can I convert TIFF to JPG without losing quality?
- Not with zero loss, because JPG always discards some detail. At 92 or higher the difference is very hard to spot on screen or in an ordinary print. Keep the original TIFF if you may need to print large or edit the scan later.
- Is TIFF or JPG better for printing?
- TIFF, when the printer accepts it, since nothing is thrown away. For everyday prints a high-quality JPG at 300 DPI gives a result most people cannot tell apart, and it is far easier to send.
- My TIFF has 10 pages. Why do I only get one JPG?
- This tool reads the first page and ignores the rest. Save the other pages as separate files in the program that made the TIFF, then convert each of them here.
- Does it work on an iPhone, Android or Chromebook?
- Yes. The TIFF reader runs in the browser itself, so Safari, Chrome, Edge and Firefox all work, with nothing to install on the phone or Chromebook.
- Why is the JPG still several MB?
- A large scan has a lot of pixels, and quality 92 keeps plenty of detail. Lower the slider, or use the compressor to reach an exact KB size.