Photo labs, visa instructions and frame shops all talk in inches: a 2 × 2 square, a 4 × 6 postcard print, a 5 × 7 for the mantelpiece. A camera file knows none of that. It is a block of pixels, and the inch size only appears when a DPI value says how tightly those pixels should be packed on paper. At 300 DPI, the usual figure for photo prints, every inch you ask for costs 300 pixels.
This page opens on a 2 × 2 inch square at 300 DPI with “Crop to fill” chosen, the size used for a U.S. visa photo. Overwrite the two numbers with any other print size, and the picture is resampled to inches × DPI and the density is written into the JPG or PNG, so print dialogs and lab kiosks that read it show the intended inches instead of guessing at 72 or 96.
Before and after
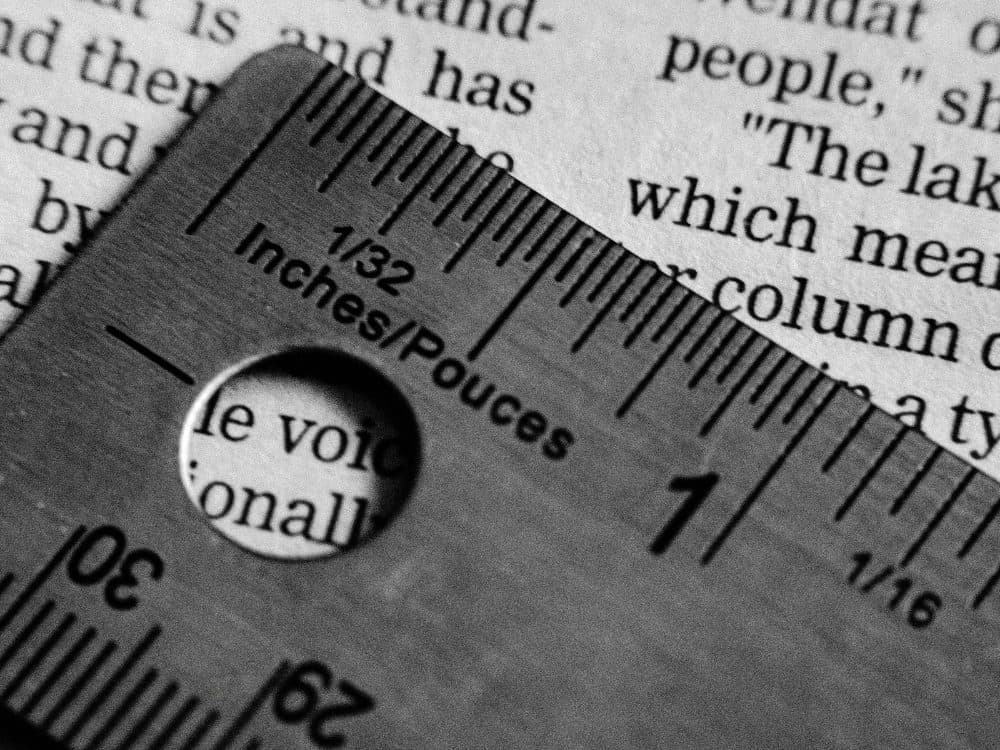
2400 × 1800 px1.49 MBJPG
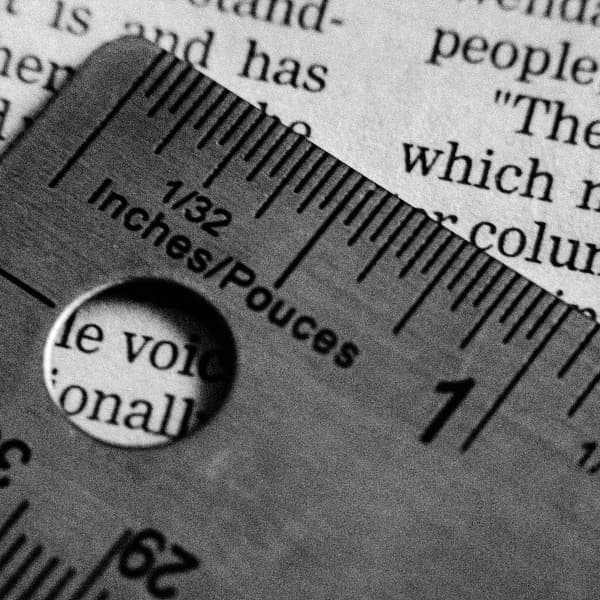
600 × 600 px163 KBJPG
The dashed frame on the left marks the part that fits the new shape. It was scaled to exactly 600 × 600 px, and the left and right edges outside the frame were trimmed.
The file went from 1.49 MB to 163 KB.
The image on the right is the actual file the tool above produced.
How to use it
- Load the photo you want to print or submit. A full-size original from the camera roll gives the most room; avoid a copy saved from a chat app, which is often shrunk.
- Leave 2 × 2 for a square photo, or type your own width and height in inches; decimals such as 2.5 or 3.5 are accepted. Keep 300 DPI unless your lab or instructions name another figure.
- “Crop to fill” is already on, so the picture is trimmed evenly to the exact frame. Tick “Lock aspect ratio” instead if you would rather keep the whole picture and accept one side shorter than the paper.
- Check the pixel count and DPI on the result card before sending the file to print or uploading it.
Pixels needed for common inch sizes
Multiply each side in inches by the DPI. At 300 DPI: 2 × 2 in is 600 × 600 px; 2.5 × 3.5 in is 750 × 1050 px; 4 × 6 in is 1200 × 1800 px; 5 × 7 in is 1500 × 2100 px; 8 × 10 in is 2400 × 3000 px. Doubling the DPI to 600 doubles each figure, so a 2 × 2 square becomes 1200 × 1200.
Shape matters as much as size. Most phone photos are 3:4. A 4 × 6 print is 2:3, so about a ninth of the width is trimmed; 5 × 7 and 8 × 10 lose only a thin strip; a 2 × 2 square loses a quarter of a portrait’s height. Frame the face or subject with that in mind before you crop.
If the original has fewer pixels than the size needs, the tool enlarges it, but the extra pixels are interpolated and the print looks soft. A 12-megapixel photo covers 8 × 10 at 300 DPI with room to spare; a 640-pixel image from a messaging app only manages about 2 inches.
Official sizes stated in inches
The U.S. Department of State, Bureau of Consular Affairs, asks visa applicants for a photo of 2 x 2 inches (51 x 51 mm) when printed, and for the digital upload 600x600 pixels minimum with a square aspect ratio, in JPEG. Typing 2 × 2 at 300 DPI here produces exactly that minimum; head size, background and age of the photo are separate rules on the same page.
In India, the National Academic Depository user manual on DigiLocker sets student photos uploaded by institutions at 2.5x3.5 inches, as .jpg or .png and not exceeding 300 kb. At 300 DPI that is 750 × 1050 pixels, which usually stays well under 300 KB as a JPG.
Frequently asked questions
- Can I resize in inches without losing quality?
- Shrinking a large photo to a print size keeps it sharp, because there are more pixels than the print needs. Quality only suffers when the inch size × DPI asks for more pixels than the original has. If you only want the file to report a different inch size without resampling, change its DPI instead with the Convert DPI tool.
- How do I make a 2 × 2 inch photo from a rectangular picture?
- That is the default here: 2 × 2 inches with “Crop to fill”. The top and bottom are trimmed equally, so start from a photo with some space above the head. For full control over what stays in the square, crop it first with the crop tool at 1:1 and then resize here.
- Which DPI should I use for printing?
- 300 is the standard for photo prints viewed at arm’s length, and it is what labs expect. 150 to 200 is acceptable for large posters seen from a distance. Use a different figure only when your printer or instructions specify one.
- How do I convert inches to pixels?
- Pixels = inches × DPI. A 4-inch side at 300 DPI is 1200 pixels; at 200 DPI it is 800. You do not need to work it out yourself: type inches here and the result card shows the pixel size that was produced.
- Will the printer know the size I typed?
- For JPG and PNG results, yes: the DPI is stored in the file, and pixels ÷ DPI gives back your inches. A WebP picture stays WebP, a format with no DPI field, so turn it into JPG or PNG before resizing anything meant for paper. The DPI checker shows what a file reports.