Square-cornered photos look abrupt beside the softly curved cards, buttons and app icons most screens are built from. Rounding the corners is the quickest way to make a screenshot sit well on a slide, a product shot match a web page, or a portfolio image look finished, and it does not need a design program.
Here the whole picture is kept: nothing is trimmed from the sides and the width and height stay as they were. Only the four corner tips are removed, along a curve whose size you set, and those tips become transparent so whatever lies behind the image shows through.
Before and after
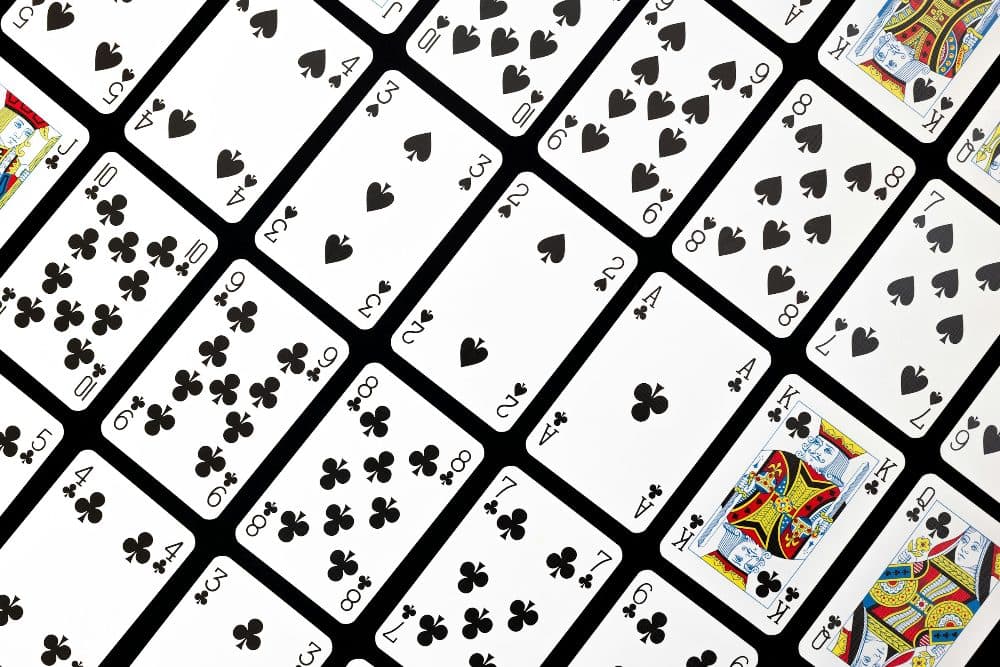
2400 × 1601 px637 KBJPG
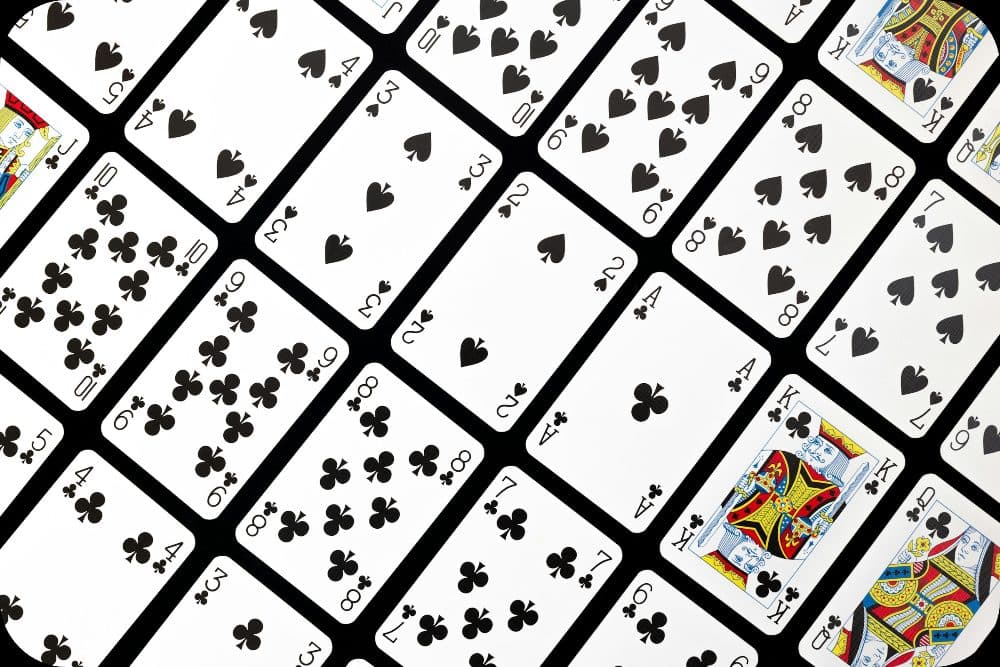
2400 × 1601 px3.24 MBPNG
The whole 2400 × 1601 px picture was kept and its corners were rounded with a radius of 10% of the shorter side.
The cut-off corners are transparent, so the result is a PNG.
The numbers are from a real run of the tool above. The pictures here are smaller previews of the actual files.
How to use it
- Add the photo, screenshot or graphic whose corners you want softened.
- Leave “Corner radius (%)” at 10 for a gentle curve, or type another value from 1 to 50; decimals such as 2.5 are accepted.
- Press Crop. There is no frame to position, because every pixel apart from the corner tips is kept.
- Save the PNG and place it on your slide, page or card; if the curve looks too tight or too loose, change the number and press Crop again.
Why the radius is a percentage
Most corner tools ask for pixels, and the same pixel value looks completely different on a small icon and on a full phone photo. This page measures the radius against the shorter side of your picture instead, so a setting of 10 gives the same visual softness at any resolution. On a 4000 × 3000 photo, 10 means a curve 300 pixels across; on a 400 × 300 thumbnail it is 30 pixels; on a 1080 × 1350 portrait it is 108.
To match a pixel radius you already have, such as one from a website style sheet, divide it by the shorter side and multiply by 100: a 24-pixel curve on an 800 × 600 picture is 4. The top value, 50, makes the two short ends fully round, so a wide banner becomes a pill and only a perfectly square picture becomes a circle. For a round avatar cut from part of a photo, the circle crop page squares the frame for you first.
Transparent corners and the PNG they need
JPG has no way to store empty pixels, so the result is always a PNG: that is the only common format here that keeps the corners see-through. The catch is weight. A PNG of a busy photo is often several times heavier than the JPG it came from, which matters if the picture is going onto a web page or into an email.
Two ways round that. If the image will only ever sit on white, run the PNG through the PNG to JPG page; the transparent corners turn white and the file shrinks a lot. If it has to sit on colour or on a photo background, convert it to WebP instead, which keeps the see-through corners at a fraction of the PNG size.
Frequently asked questions
- Can I round just one or two corners?
- No. All four corners get the same radius. For a tab or a card that is rounded only at the top, a design program is the better tool.
- Why do the corners look black or white in my gallery app?
- Some photo viewers paint transparent pixels in a solid colour. The corners are still empty in the file; place the PNG on a slide, page or coloured background and the curve shows properly.
- Does rounding the corners change the size of my image?
- The width and height stay exactly the same, and nothing is cropped from the edges. Only the file weight changes, usually upwards, because the output is a PNG.
- What number should I use?
- Between 3 and 6 suits screenshots and documents, 8 to 12 gives the soft card look common on websites and social posts, and 20 or more turns the picture into a strongly rounded tile. 50 is the maximum and gives fully round ends.
- Can I add a border or fill the corners with a colour?
- Not on this page: it only cuts the curve and leaves the corners transparent. Converting the result to JPG fills them with white, which is the one colour fill available here.